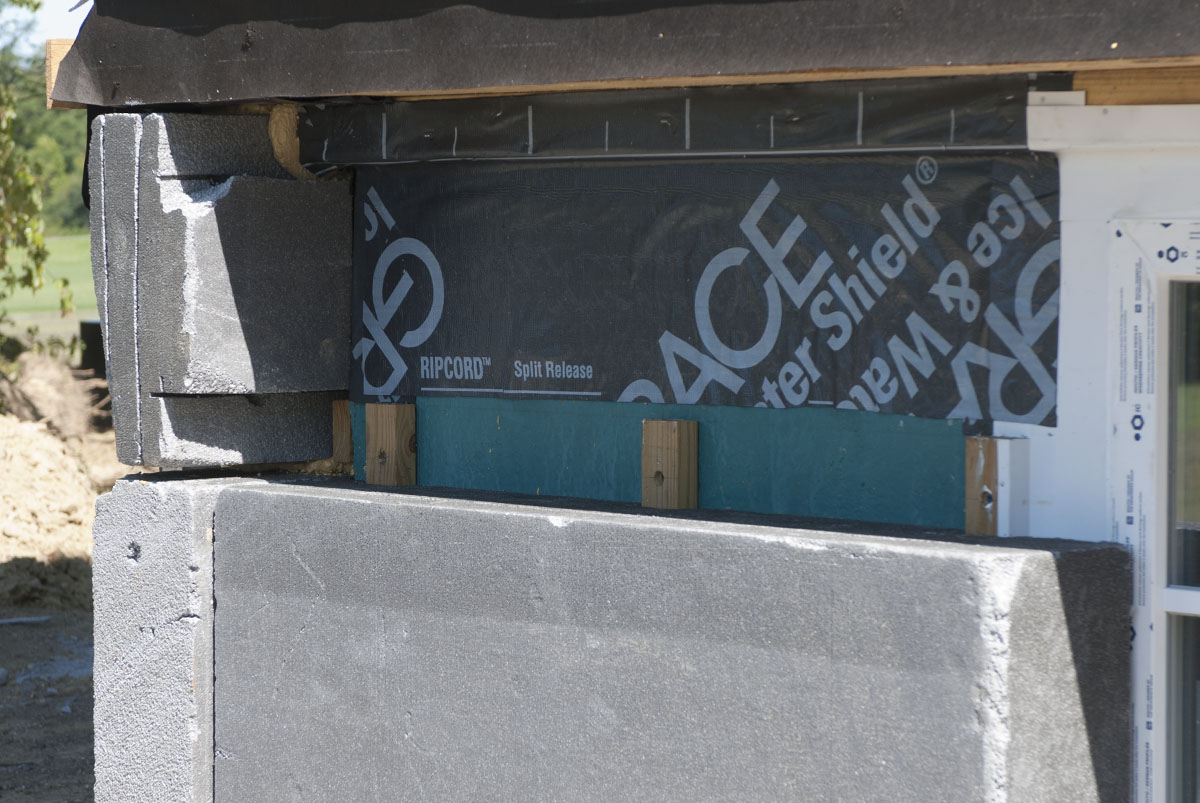
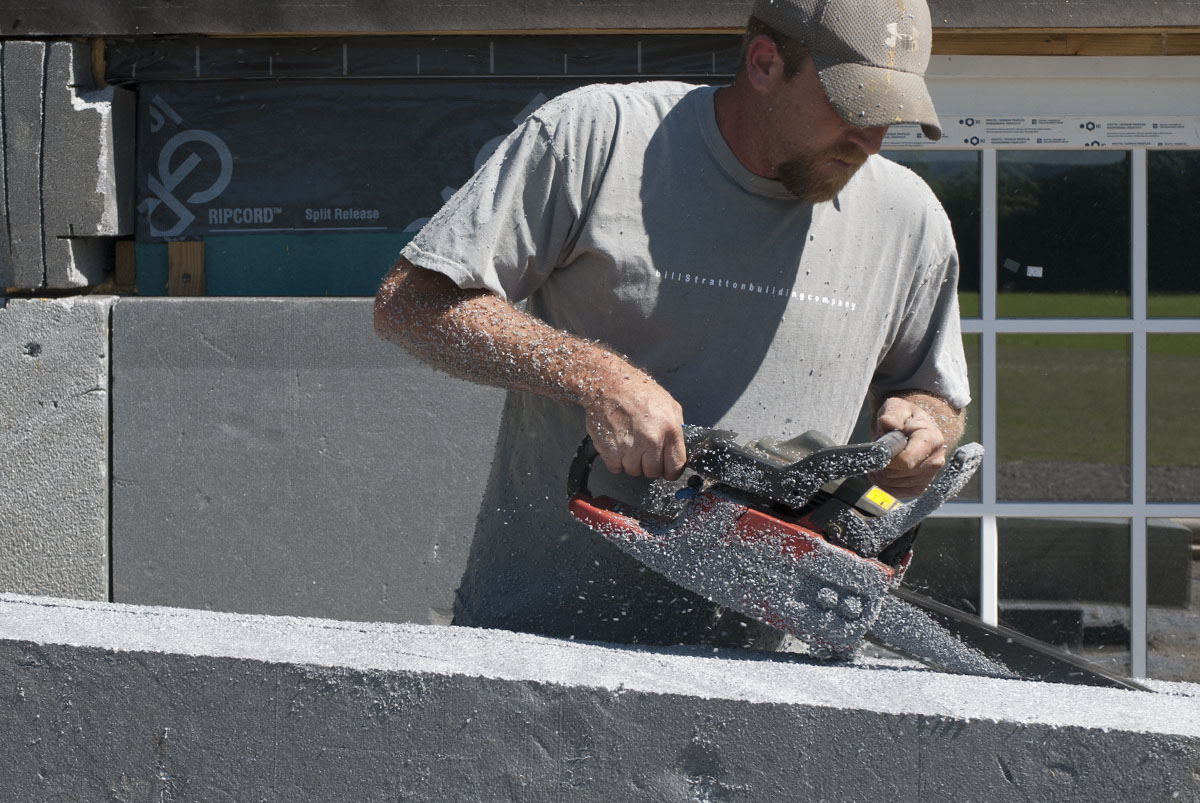
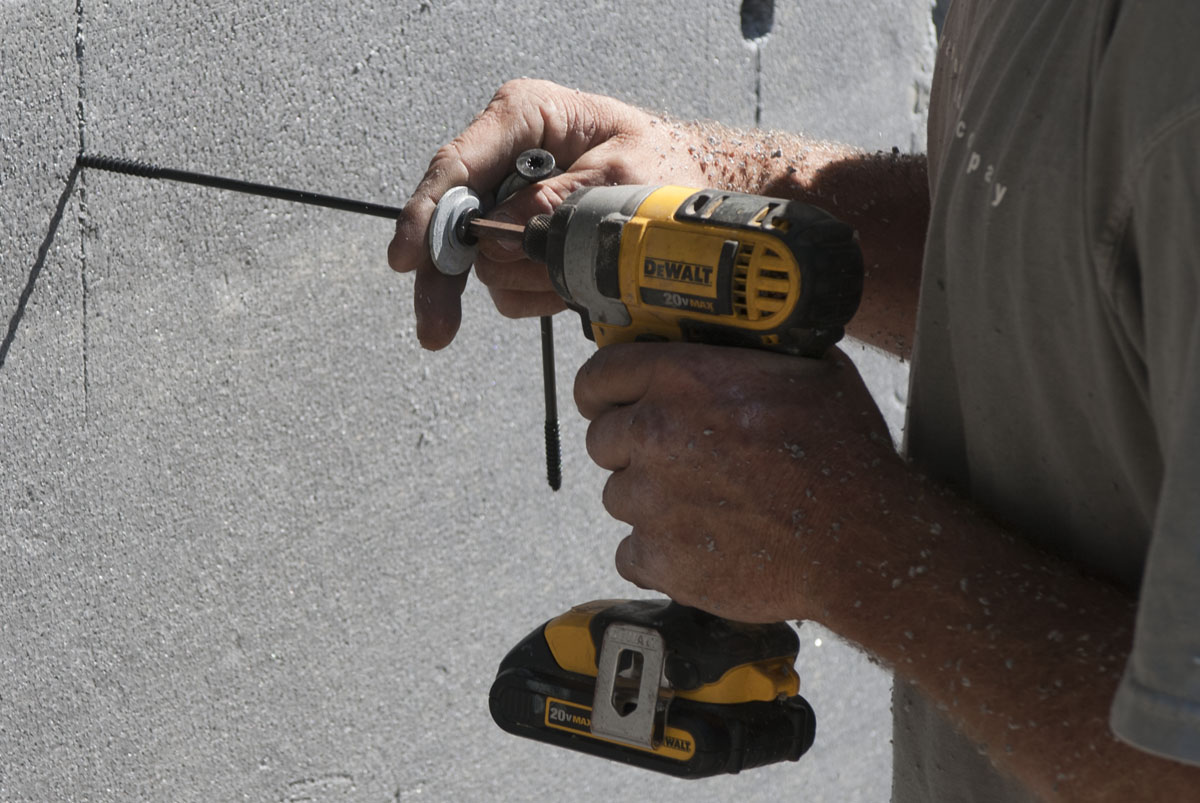
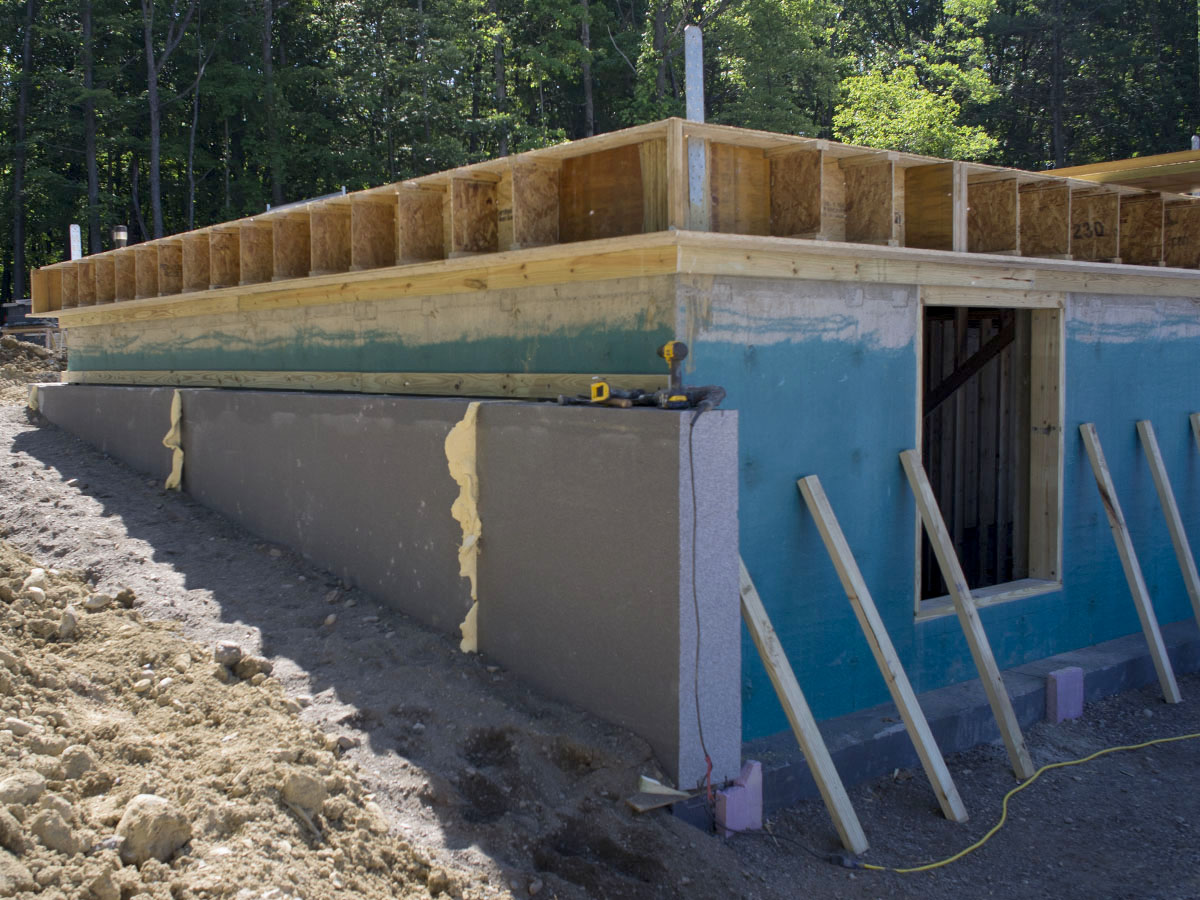
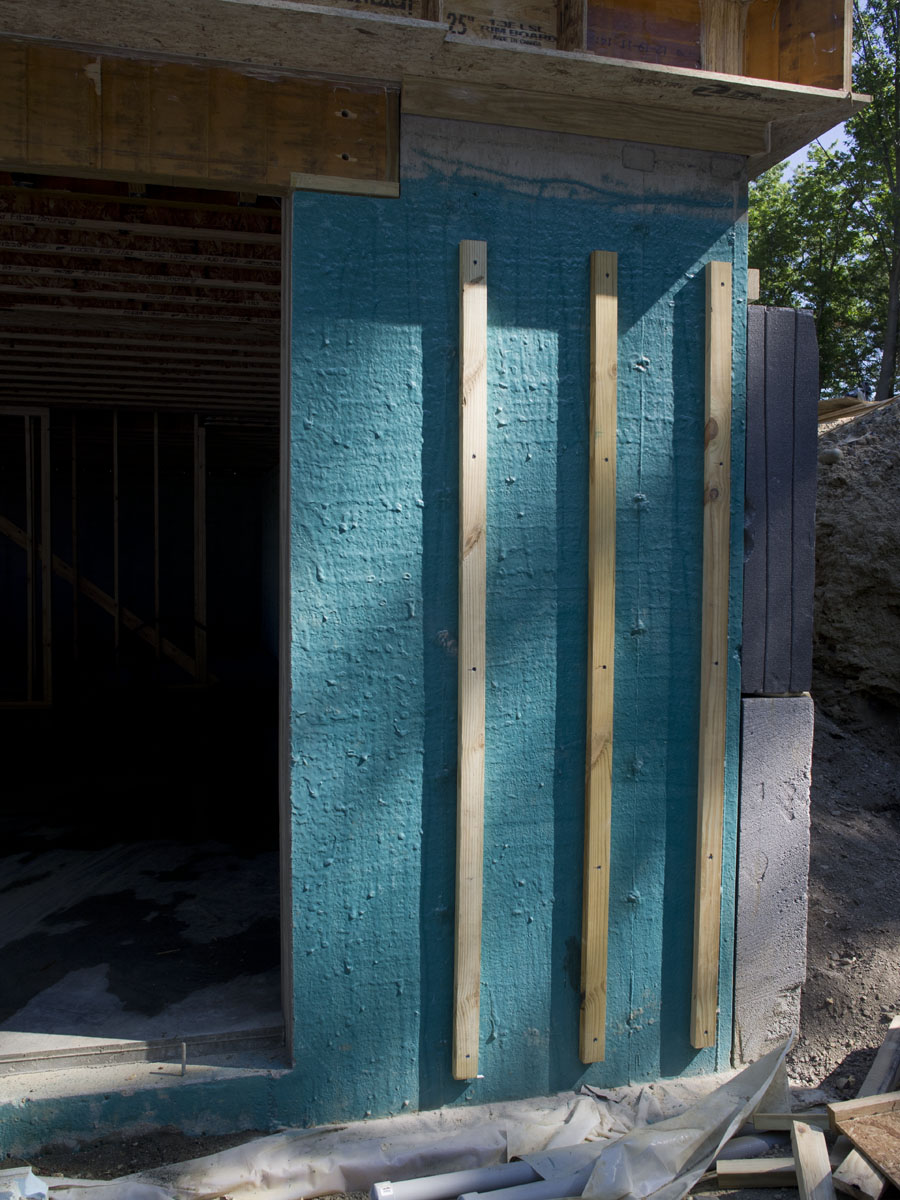
 Our exterior work was wrapping up in autumn 2012 when cold winter temperatures arrived in November and delayed the application of exterior stucco to the lower level. The area under the front porch was tented for warmth and stucco applied. But most of it remained bare naked through winter and early spring. By June 2013, exposure to sun and weather had started to degrade the surface of the 10-inch-thick blanket of Neopor foam that wraps the foundation. It was finally warm enough to try again.
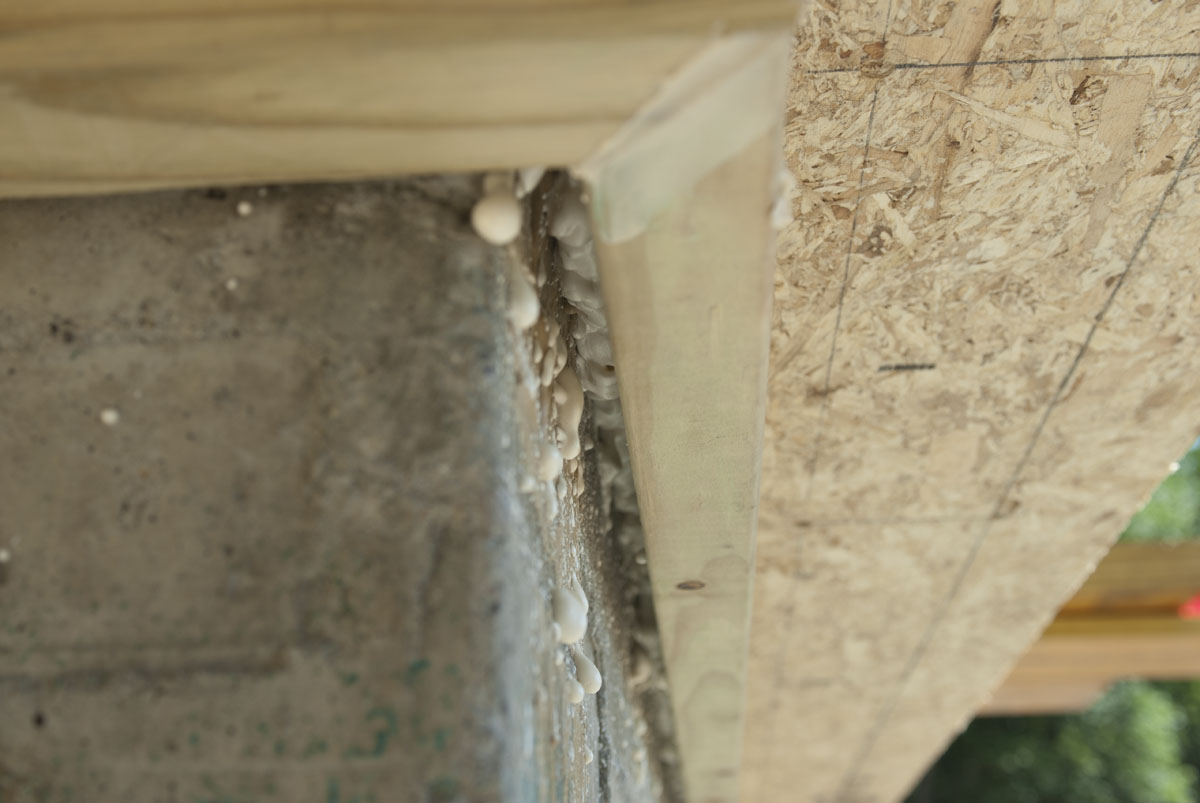
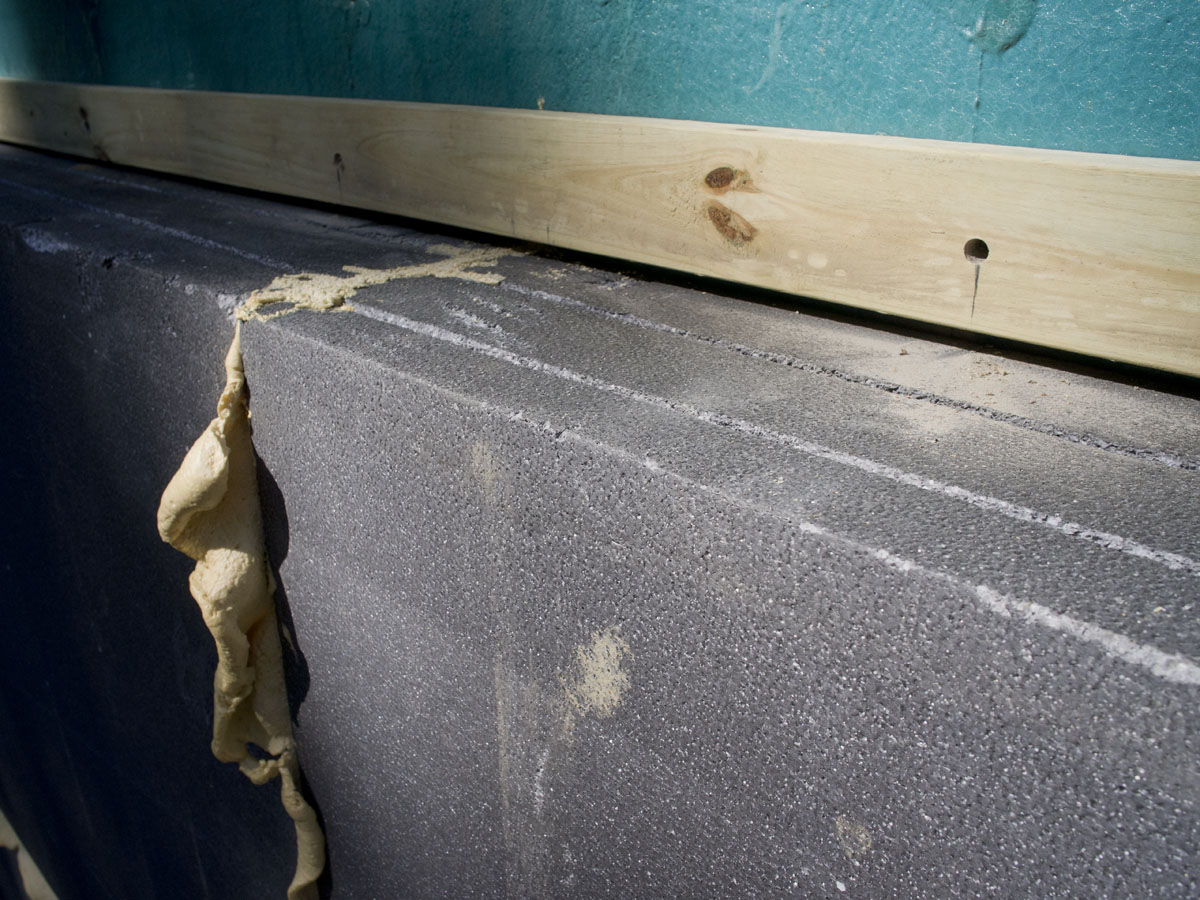
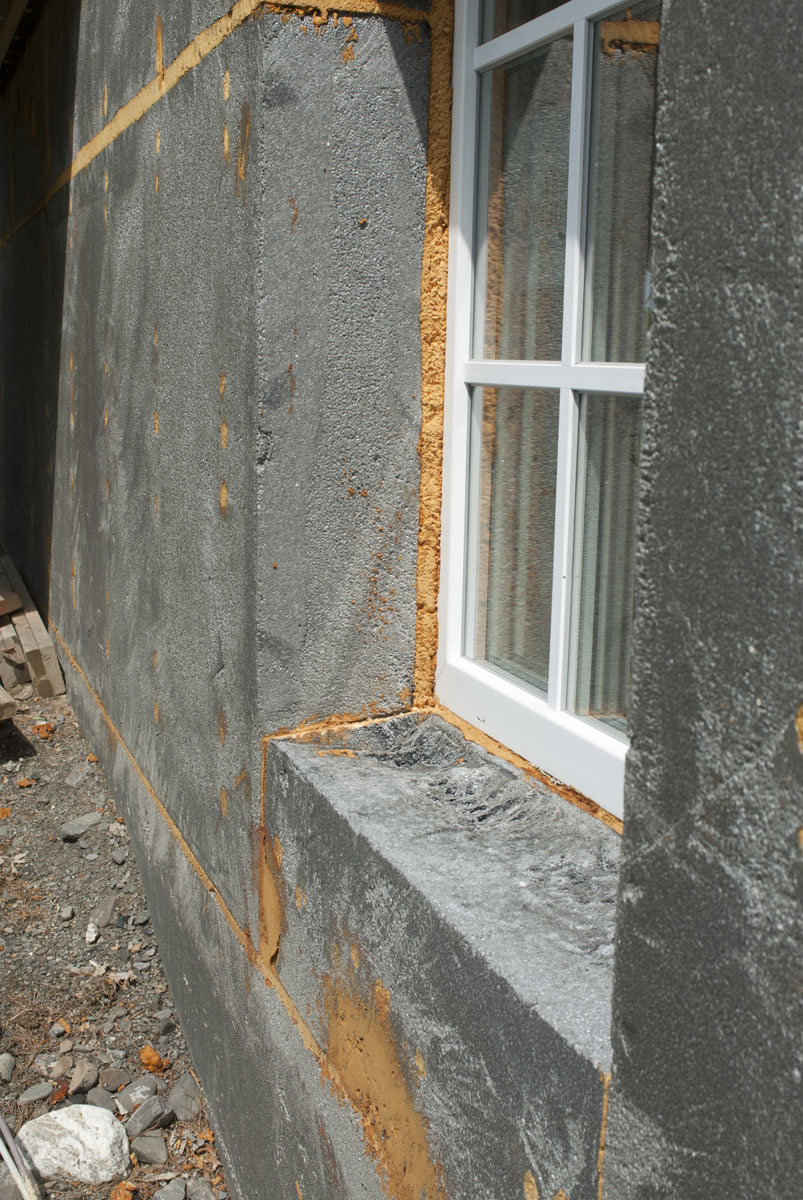
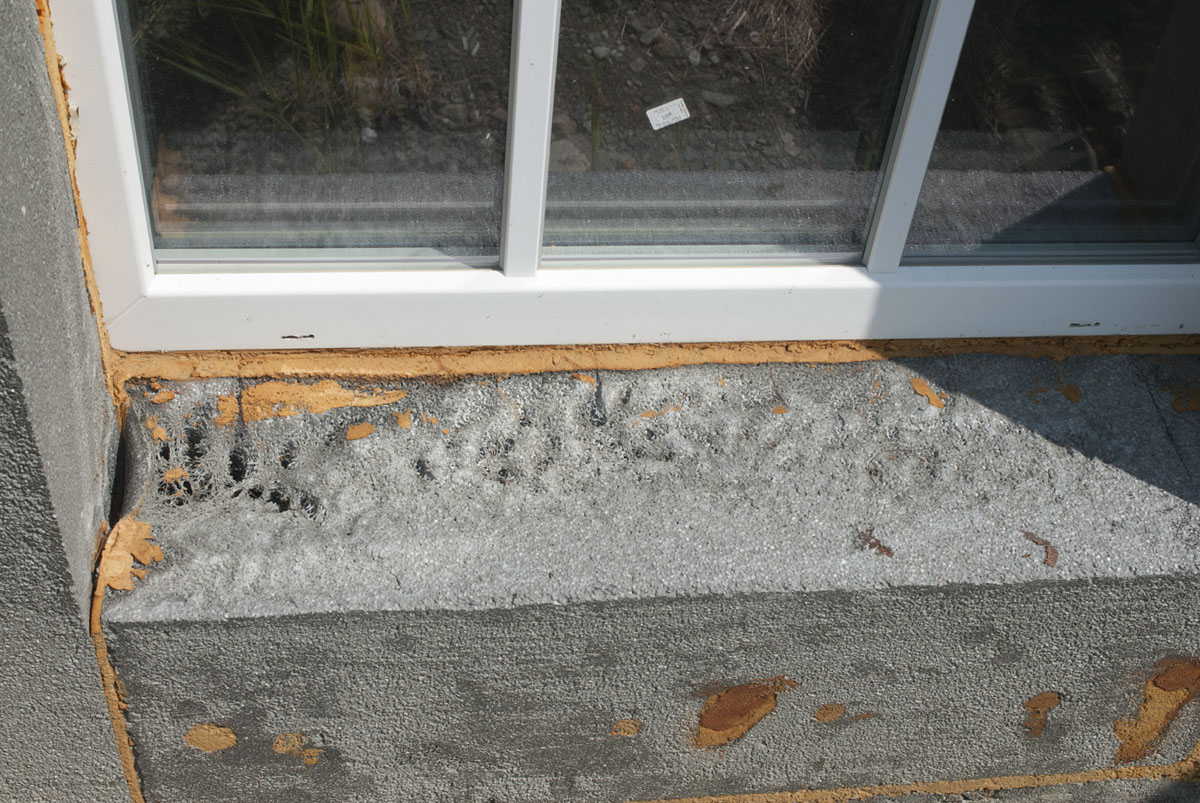 Exposure to sunlight and the elements melted the foam.
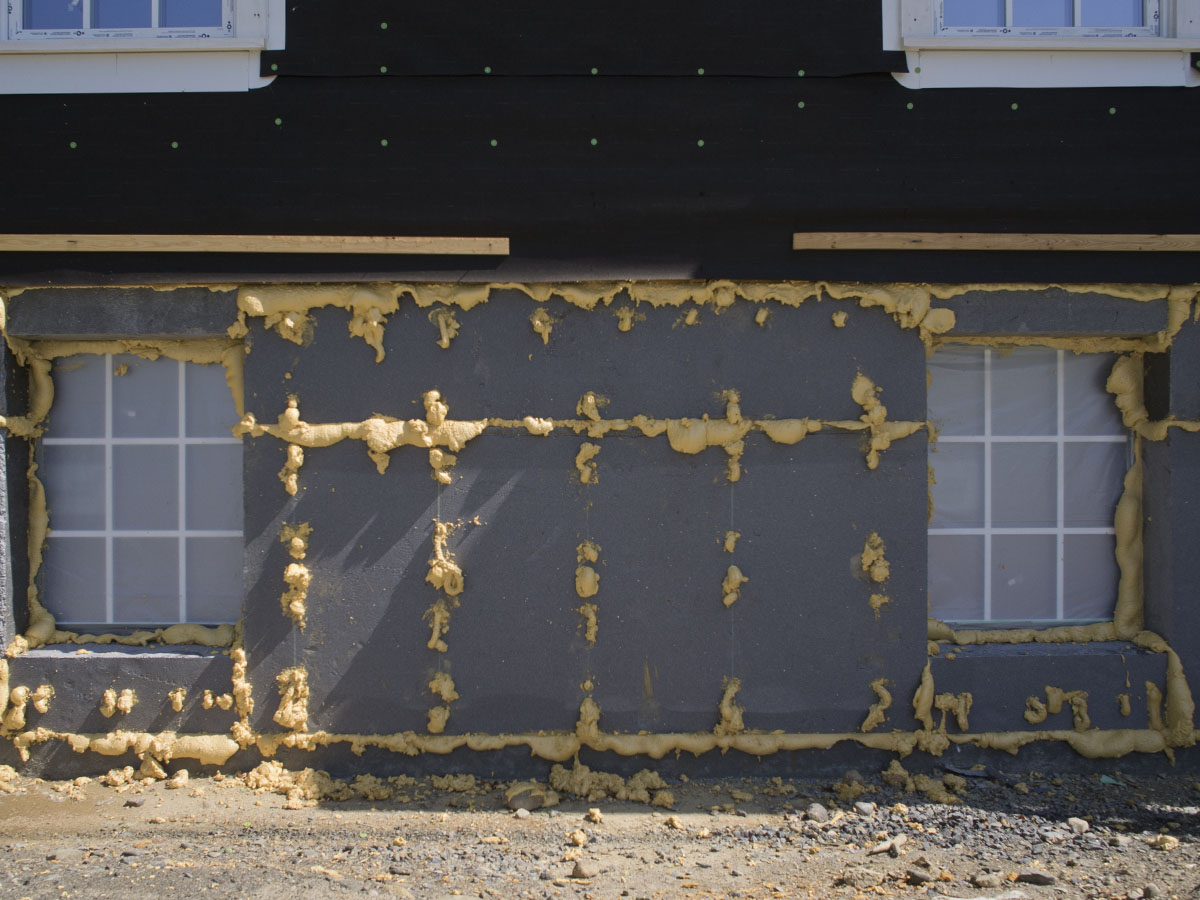
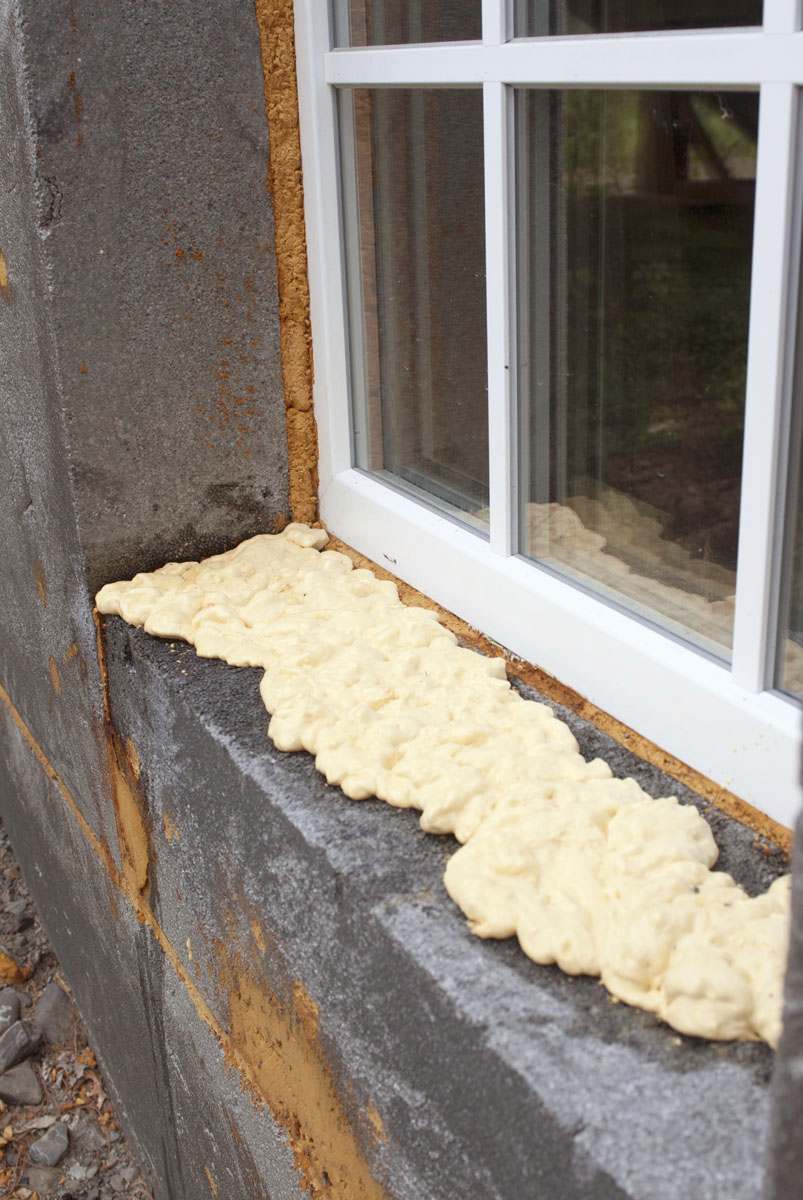 We filled in the gaps with new foam.
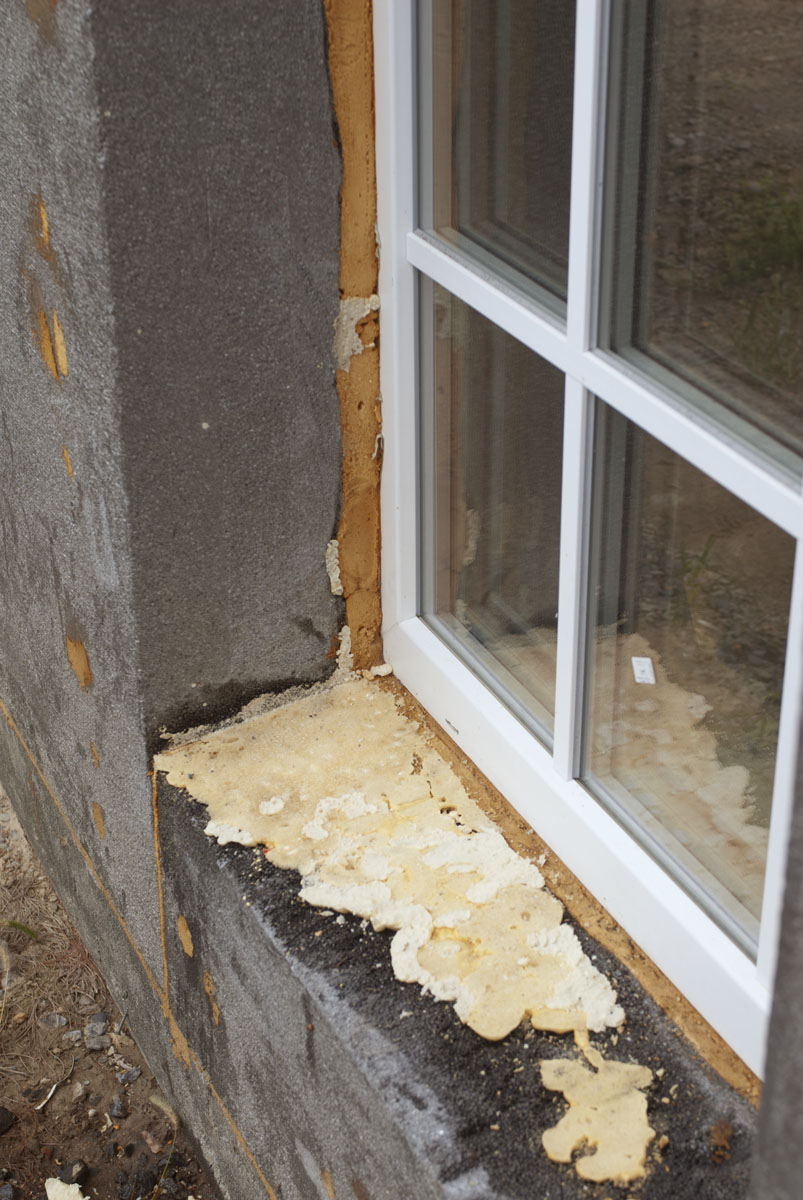
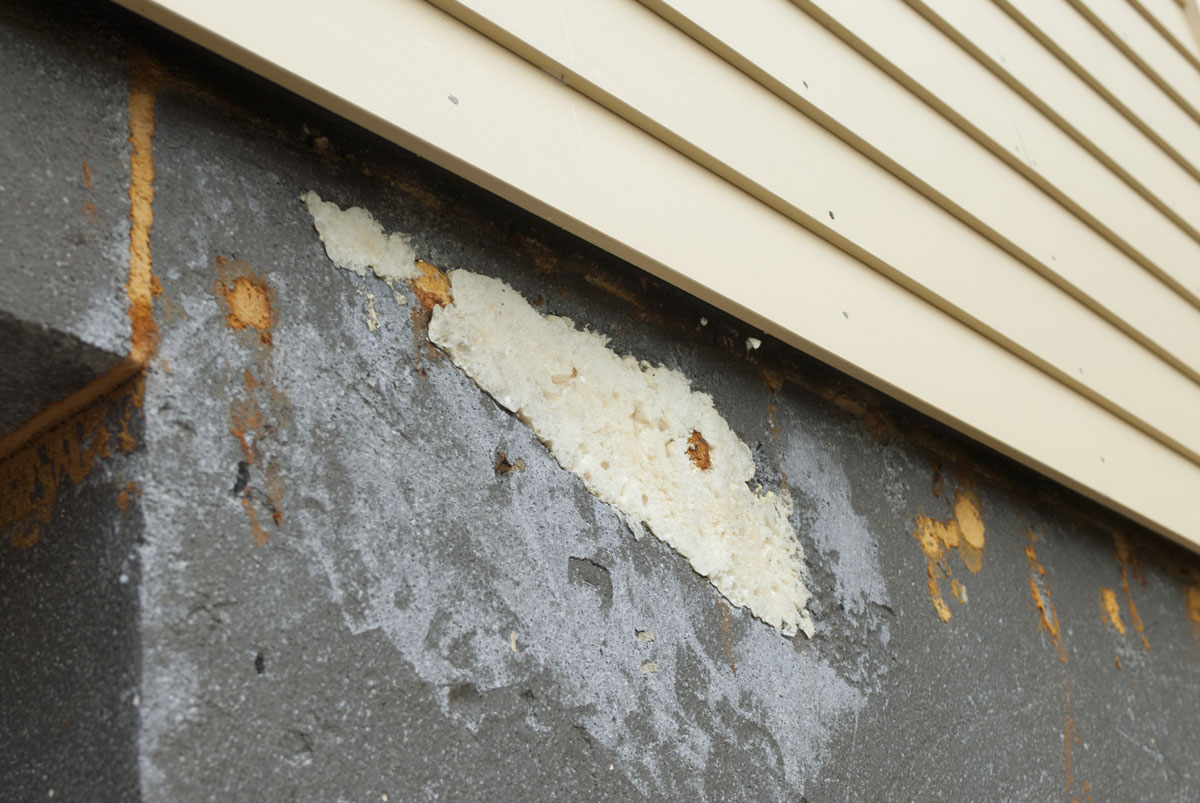 The above two images show our repair patches.
 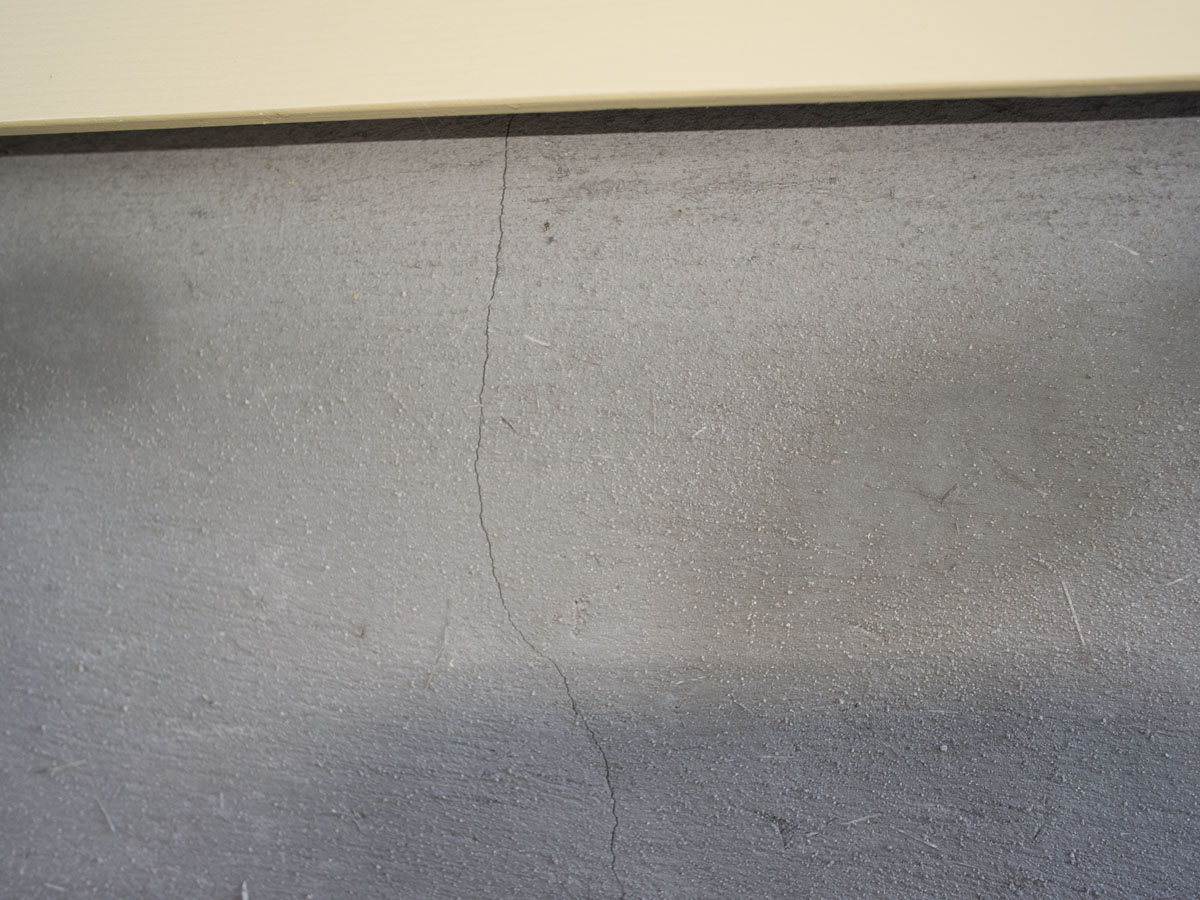 Also, the partially completed stucco from last fall had cracked.
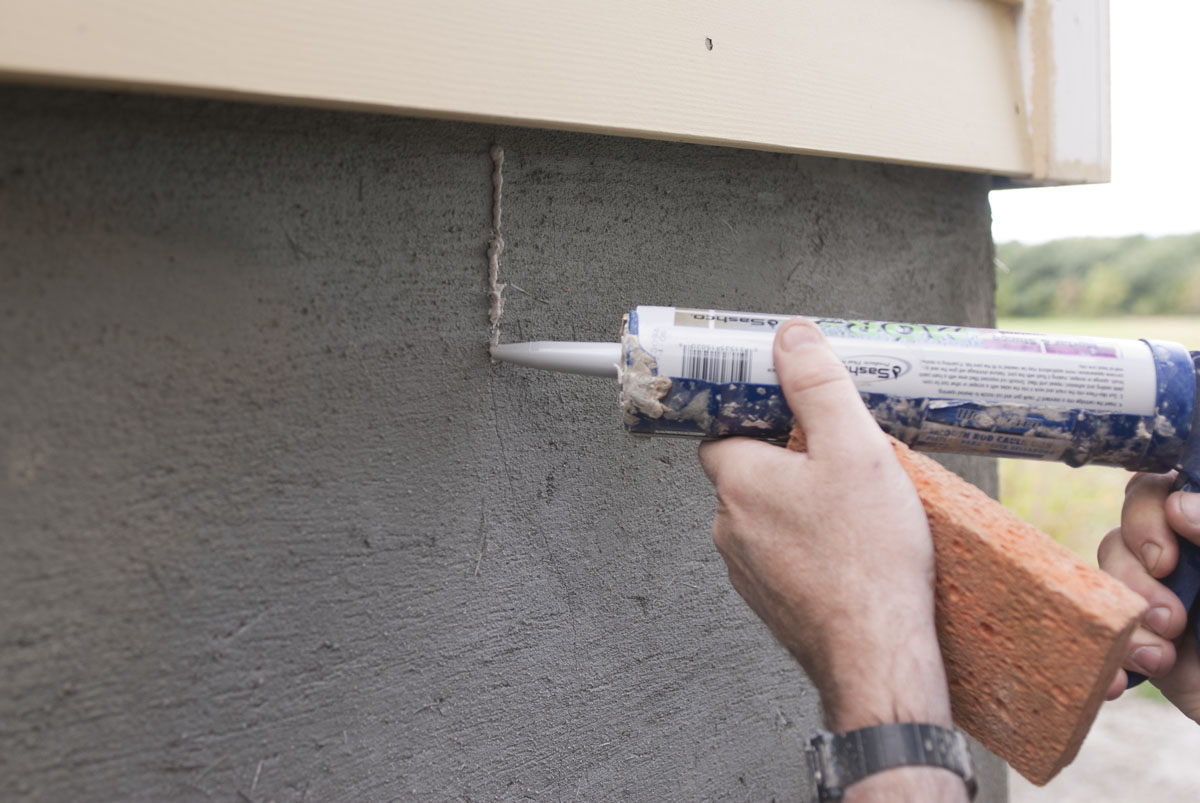
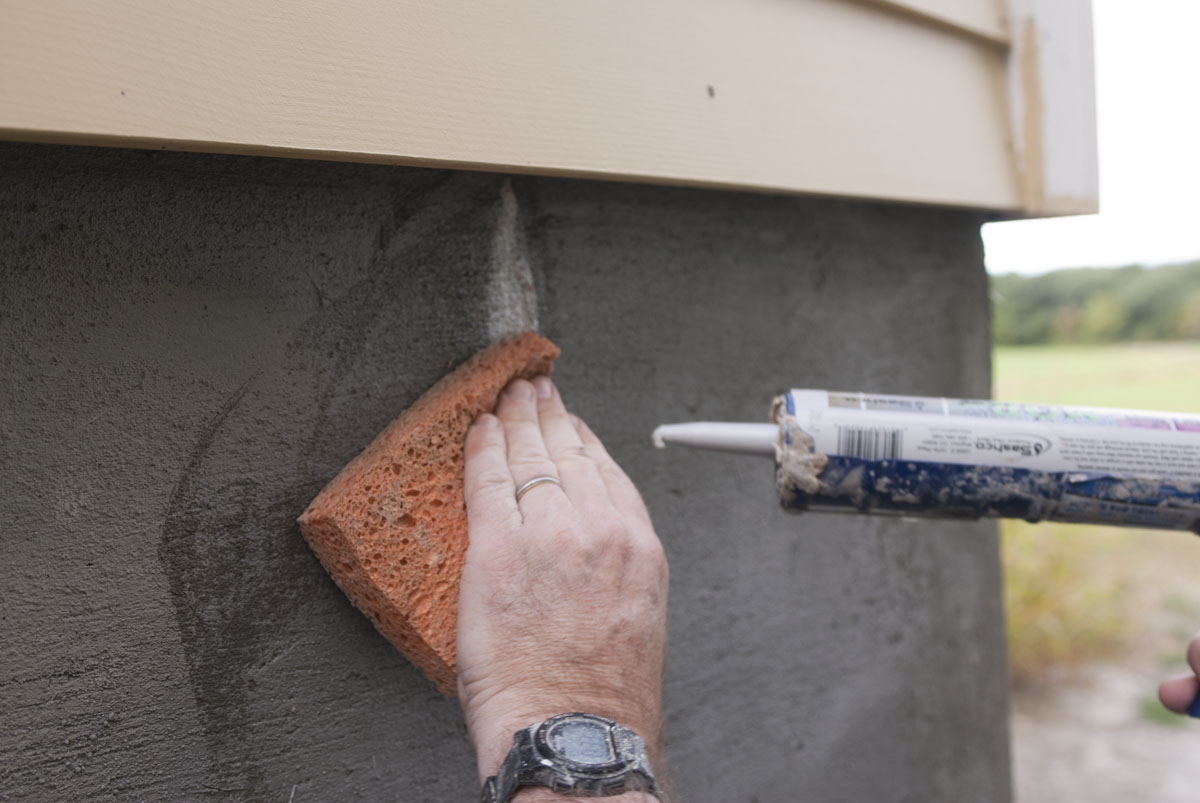
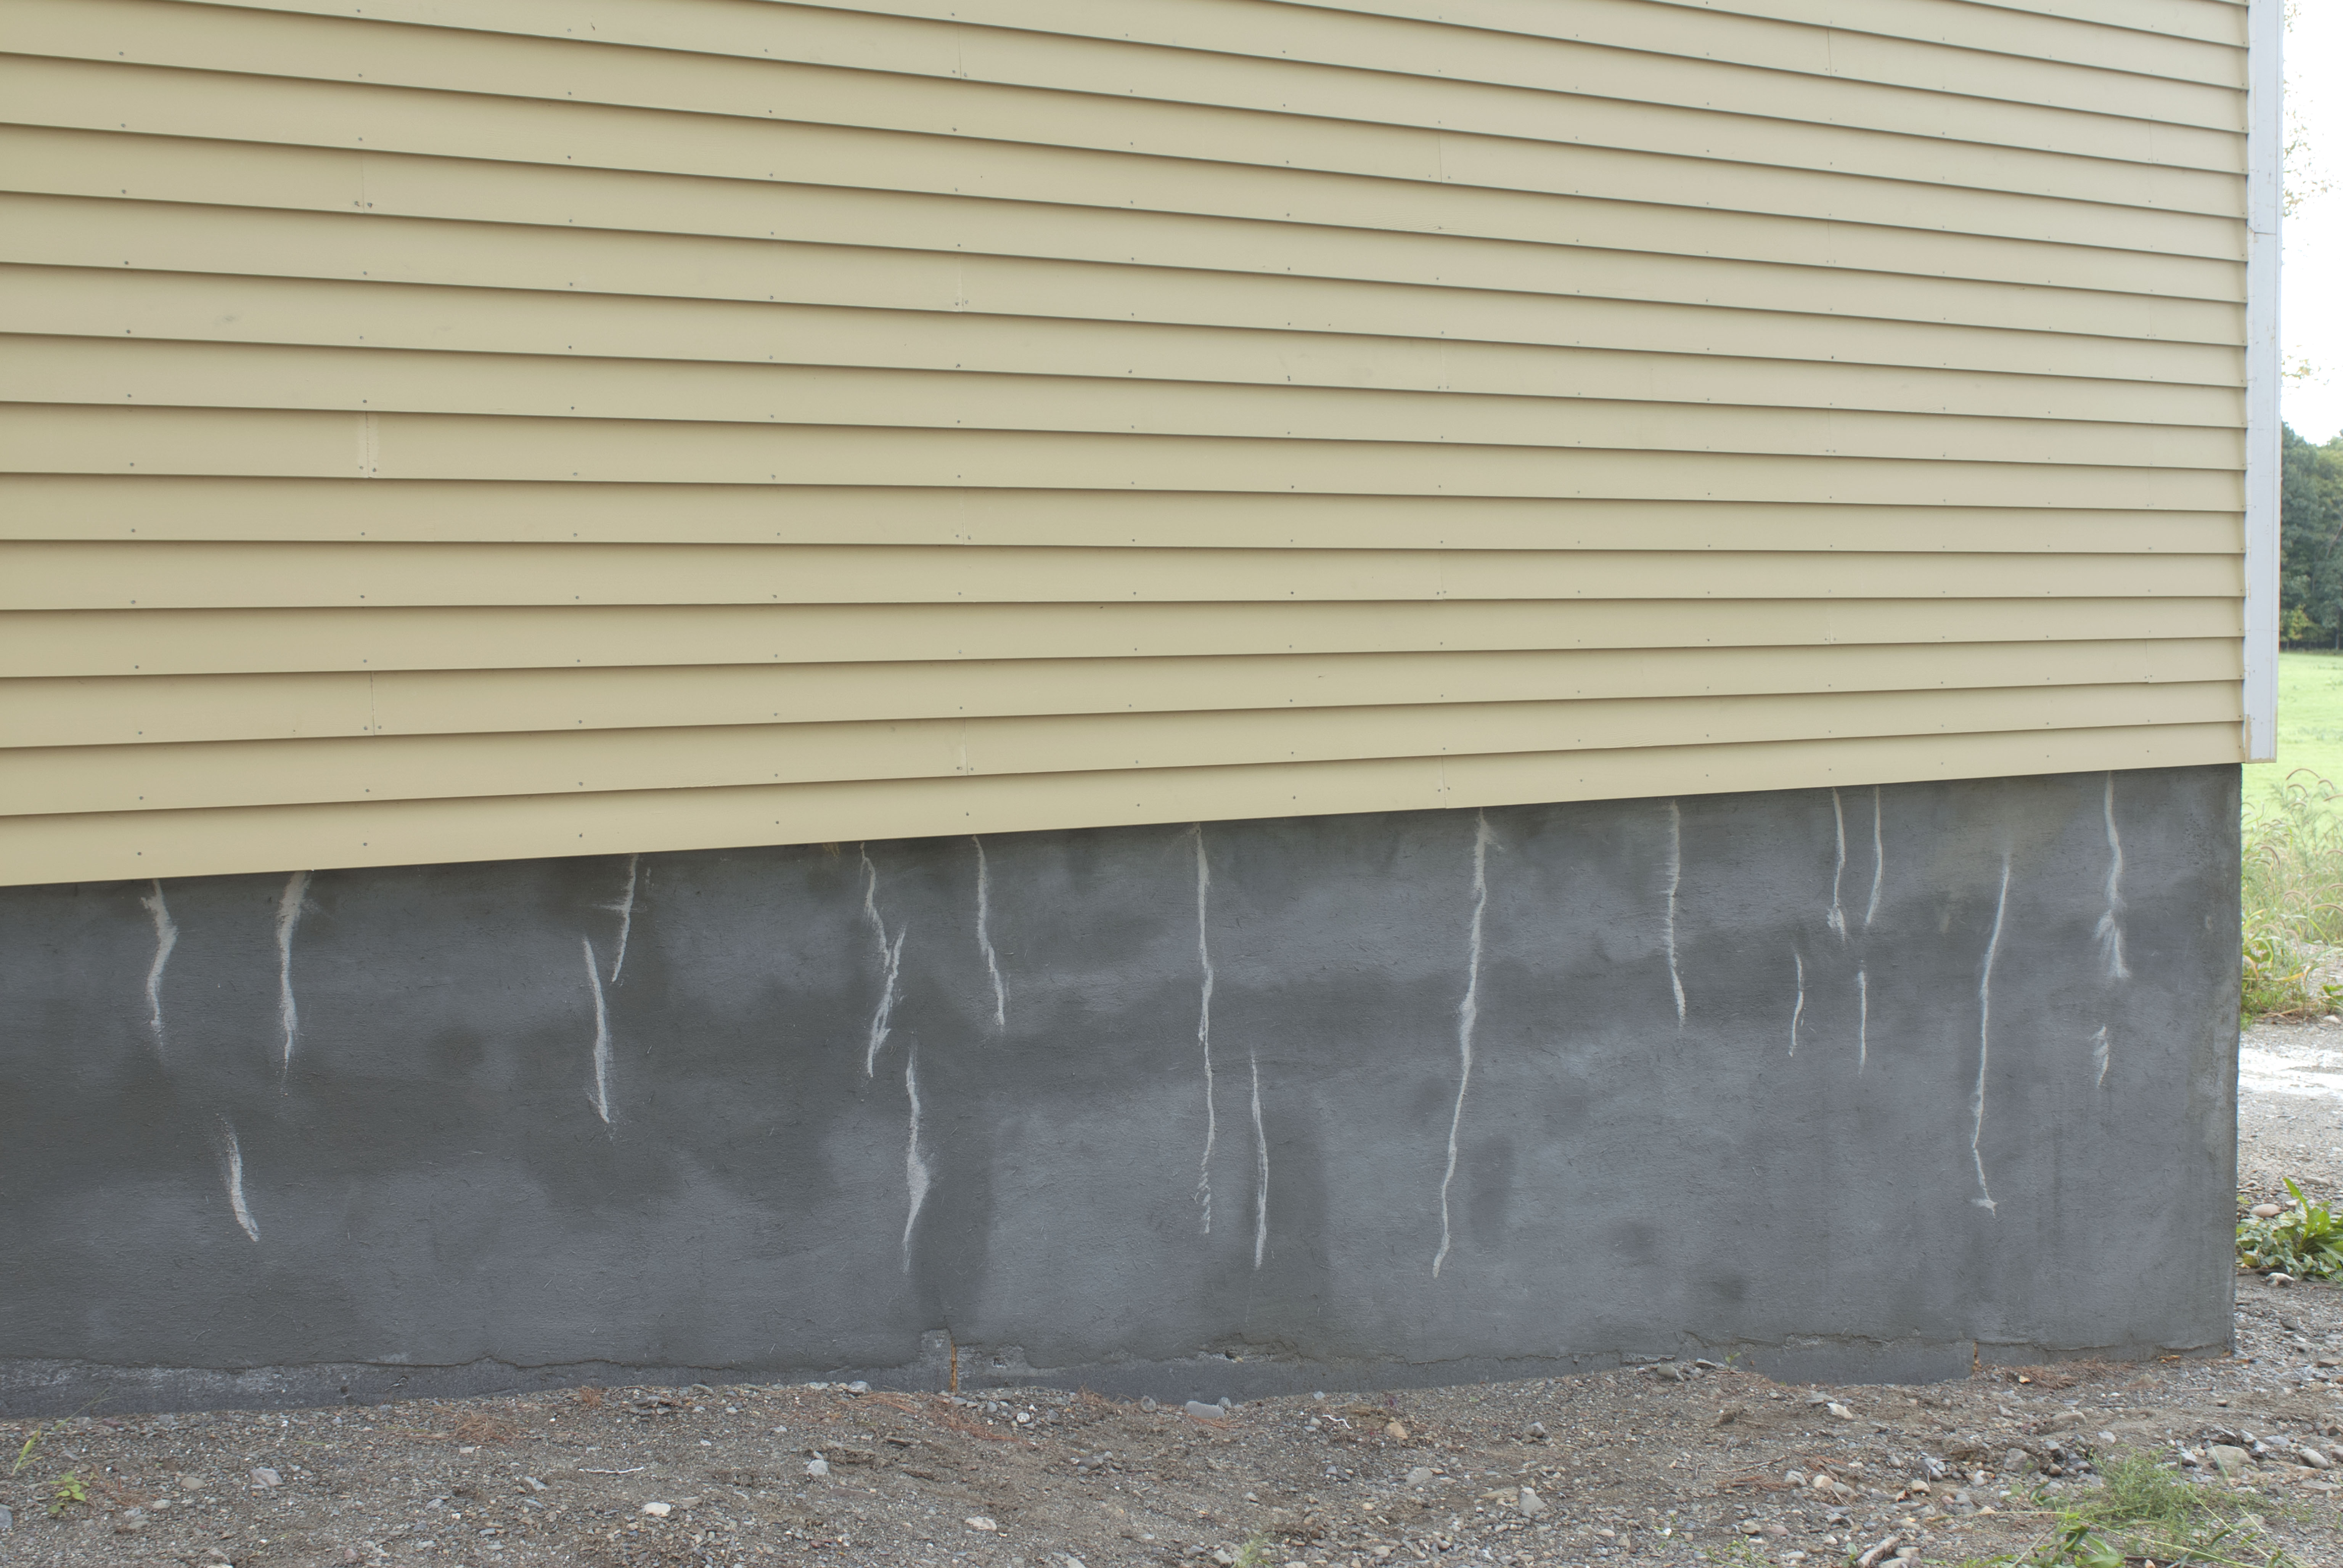 We have used masonary caulk on these cracks. Later, the stucco will be painted for a more uniform and lighter grey.
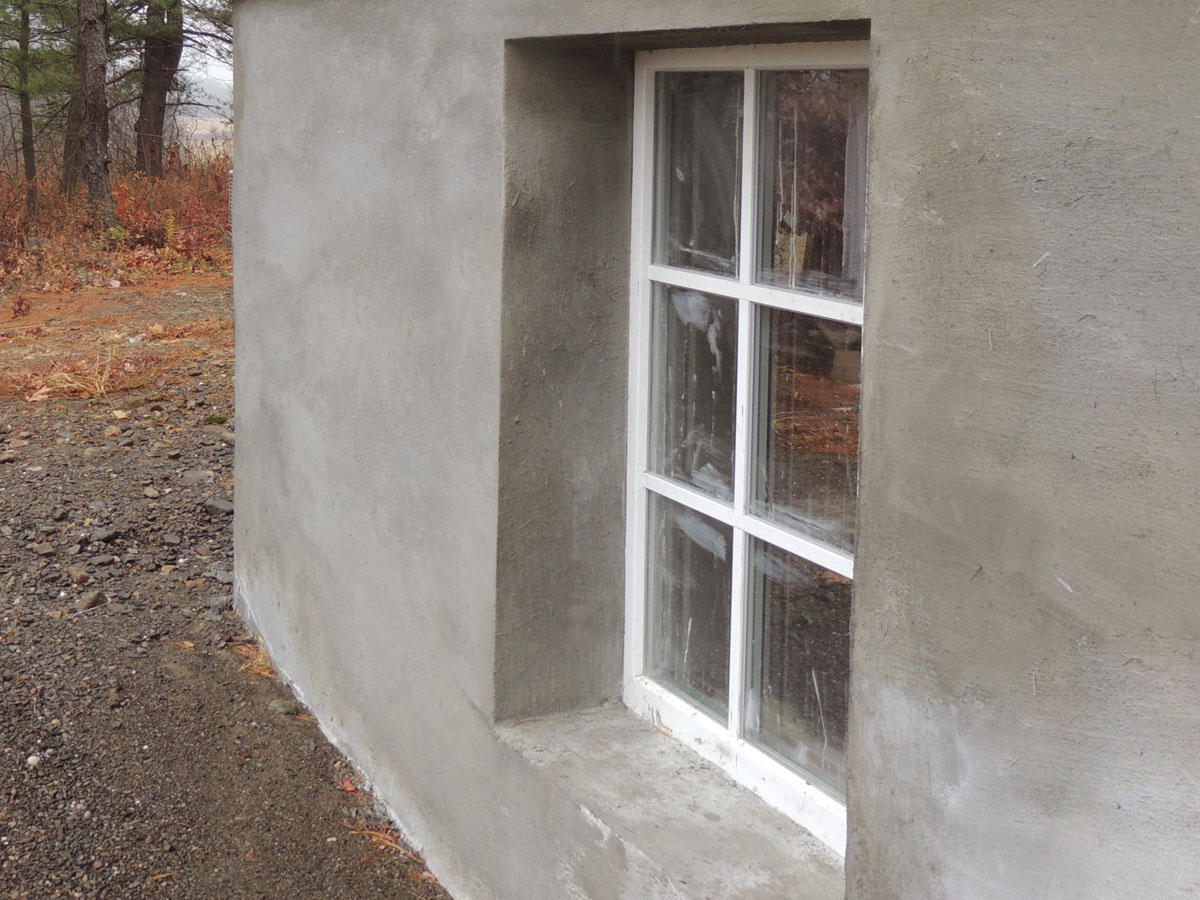 The stucco product that we used was Parge-All 825, specially formulated to apply over foam. When the company was contacted, they suggested that cold weather caused the cracks last fall. The product instructions say don’t apply if the weather drops below 40 degrees. However, when we applied new stucco at the end of August, we still got cracking, even with temperate weather.
Researching online information, combined with on the job testing, solved the problem. First, we applied a thin scratch coat to set up the surface of the foam, letting it dry for several days. This layer always cracked. Then we applied a final top layer that sets up without cracking. With our exterior foam repaired and the stucco applied, the house was buttoned up for winter 2013.

